Turning a single photo into a moving clip used to mean keyframes, rigging, and a lot of patience. Now it’s closer to “upload, prompt, generate.” With kling 2.6 motion control, you can animate a still image by borrowing motion from a reference video—so your subject moves naturally instead of “guessing” a motion path.
In this tutorial, you’ll learn how to animate a photo with kling in a clean, repeatable workflow: pick a motion clip, upload your image, write a simple prompt, and iterate like a creator (not a coder). By the end, you’ll be comfortable using kling motion control for photo animation for portraits, full-body shots, and even short viral concepts.
What Kling Motion Control Is (and Why It Works So Well for Photo Animation)
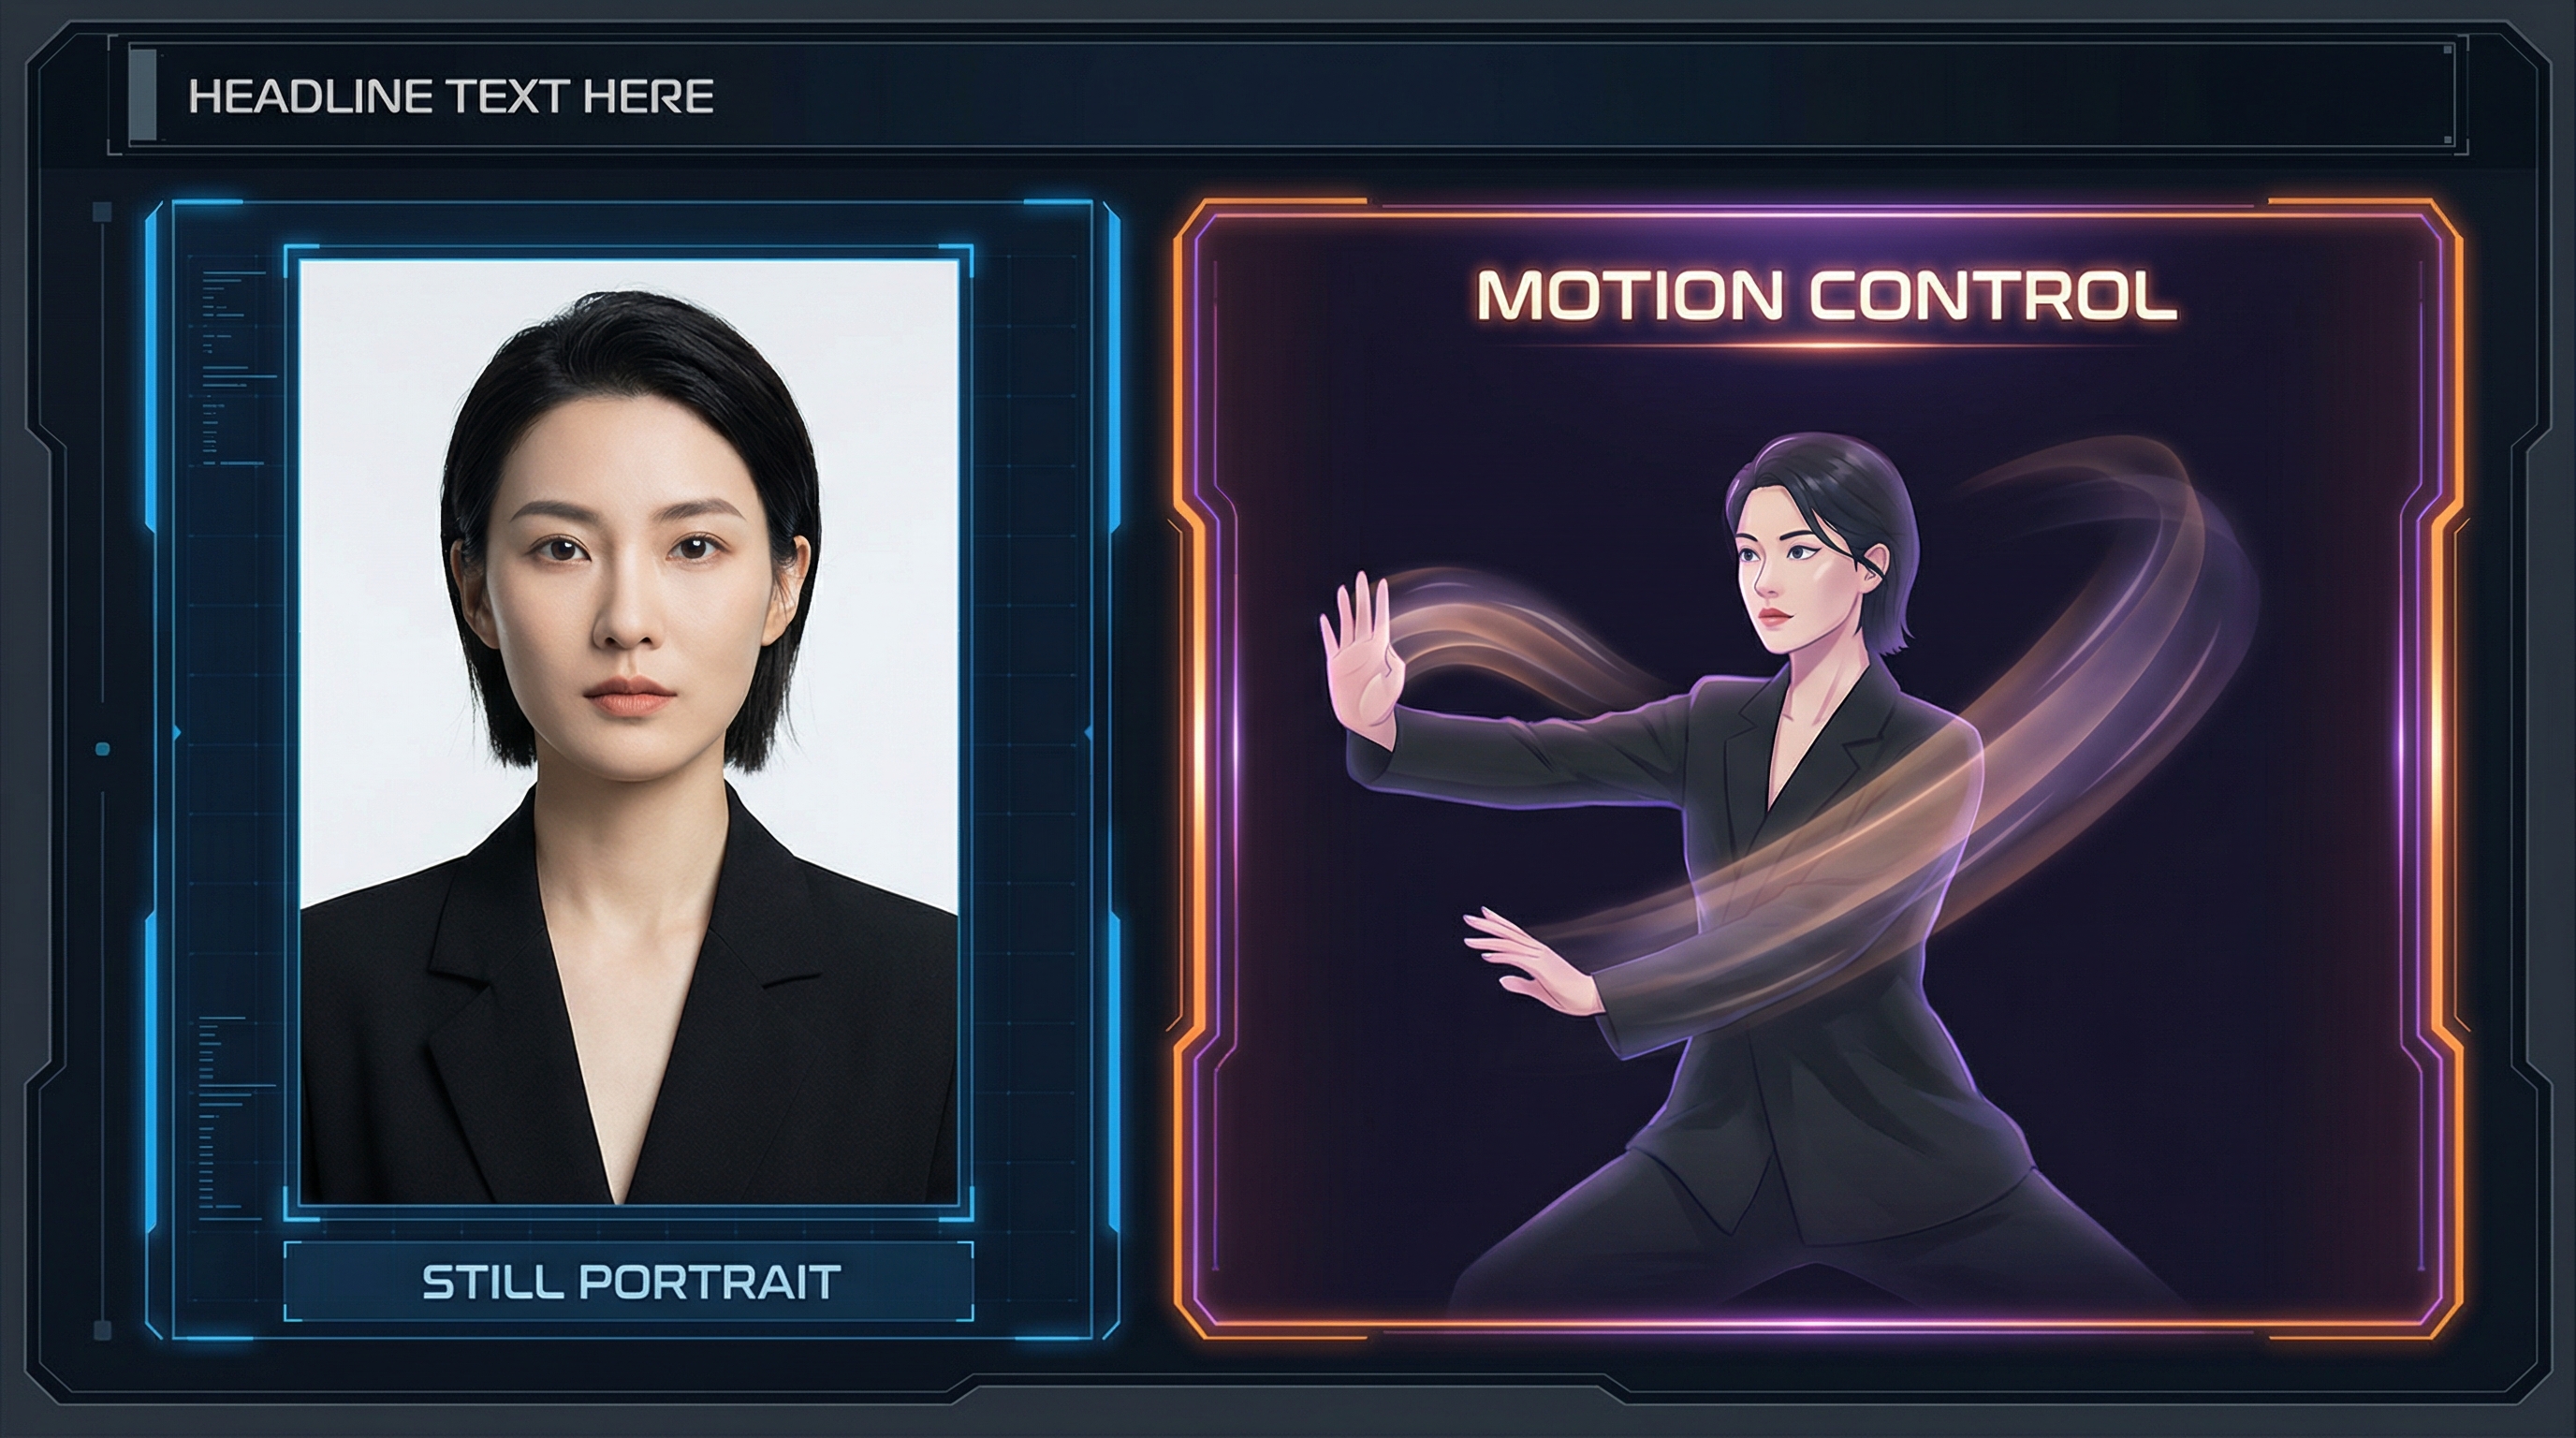
Most image-to-video tools try to “invent” motion from your prompt. kling motion control does something more controllable: it transfers movement from a real motion reference video to your still image.
Think of it like this:
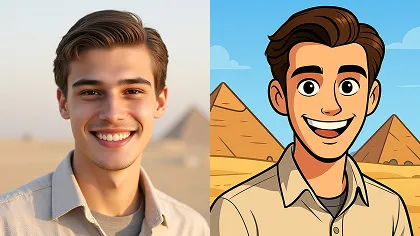
- Your image supplies identity (face, outfit, overall look).
- Your motion video supplies movement (timing, pose changes, gestures).
- Your prompt supplies art direction (scene, camera behavior, style).
That’s why many people describe kling ai motion control as “digital puppeteering.” You’re not just hoping the AI moves your subject correctly—you’re giving it a motion blueprint.
What You Need Before You Start (Just 2 Files + a Prompt)
Before you generate your first clip, prep these basics:
1) A Photo to Animate
Pick an image with:
- Clear lighting and sharp detail
- A visible face (if it’s a portrait)
- Minimal motion blur (ideally none)
- Enough body visibility for the motion you want (full-body motion works best with full-body images)
This is the foundation of kling 2.6 photo animation—if the image is clean, everything downstream gets easier.
2) A Motion Reference Video (MP4)
Choose a short clip that:
- Has one person (avoid crowds)
- Has a steady camera (no shaky handheld)
- Shows the movement clearly (no heavy occlusion)
- Is 3–30 seconds long
If you’re new, pick something simple: gentle arm gestures, a basic dance bounce, or a calm head-and-shoulders talking motion.
3) A Prompt (Short, Director-Style)
The prompt is not where you “describe the dance.” The motion video already does that. Your prompt is where you control:
- Background and setting
- Lighting
- Visual style (realistic, anime, cinematic)
- Camera rules (fixed camera, no zoom, no shake)
This is the difference between chaotic outputs and clean results with kling motion control for photo animation.
UI Walkthrough: How to Use Kling 2.6 Motion Control (Exactly Like the Tool Screen)
Here’s the simplest workflow for how to use kling 2.6 motion control, matching the core fields you’ll see:
Step 1: Select Version (Start with STD)
Choose STD as your default. It’s usually the safest balance for:
- stable motion
- fewer distortions
- good “first try” output
Later, you can experiment, but STD is where most creators should start.
Step 2: Upload the Motion Video
This is your “movement driver.”
Best motion video traits
- Clear silhouette
- Smooth movement
- Minimal background clutter
- No fast spins (spins often create limb glitches)
If the result looks weird, the motion reference is usually the first thing to improve.
Step 3: Upload Your Image
This is the subject that will mimic the reference video.
Framing tip: Try to match framing between the two inputs.
- Full-body motion video + full-body photo = better leg/foot motion
- Portrait motion video + portrait photo = better facial stability
Step 4: Enter Your Prompt (Keep It Simple)
A good prompt for photo animation is short and protective.
Example:
“Realistic portrait, soft indoor lighting, clean background, tripod shot, fixed camera, smooth motion, no zoom, no shake”
If your tool includes “Translate” or “Optimize Prompt,” you can use them after your first attempt—but it’s best to generate once with a simple prompt first.
Step 5: Generate, Review, Iterate
Generate your first clip, then review it like a director:
- Is the face stable?
- Are hands weird?
- Did the camera drift?
- Is the background warping?
Then change only one variable at a time (swap the motion video, improve the photo, tighten the prompt, etc.). That’s the fastest way to master animate photo with kling 2.6 without endless guessing.
Copy-Paste Prompt Templates (Clean, Stable, Creator-Friendly)
Use these as starting points for kling 2.6 motion control photo animation.
Template A: Realistic Cinematic
“Cinematic realistic video, soft natural lighting, shallow depth of field, clean background, tripod shot, fixed camera, smooth motion, high detail, no zoom, no shake, no blur”
Template B: Social / Viral Look
“Bright clean social video, high clarity, simple background, cheerful mood, fixed camera, smooth motion, no camera movement, no zoom, no distortion”
Template C: Anime / Stylized
“Anime style character animation, smooth lines, vibrant colors, simple background, fixed camera, clean motion, no jitter, no blur”
Template D: Product / Fashion Pose
“Fashion model video, studio lighting, clean backdrop, editorial look, fixed camera, smooth controlled motion, no camera shake, no extra subjects”
These prompts are perfect for kling motion control because they prevent the model from “getting creative” with the camera.
Best Motion Reference Ideas (What to Upload for Different Results)
Here are motion reference categories that work especially well with kling ai motion control:
Talking-Head / Portrait Motion
Use a calm clip with:
- slight head nods
- natural facial movement
- minimal hand gestures
This is the easiest starting point for photo animation.
Simple Dance Loop (Best Beginner Dance Choice)
Pick a clip with:
- side-to-side bounce
- arm swings
- small steps
- consistent rhythm
Avoid anything with fast spins or heavy footwork at first.
Hand Gestures (Harder, But Looks Amazing When Done Right)
If you want expressive hands:
- choose a reference with slow, clear hand motion
- avoid hands passing in front of the face often
- consider full-body framing to reduce hand warping
Walk / Turn Motions
Walking is surprisingly tricky because legs and feet reveal errors fast. If you try it, use:
- steady camera
- slow pace
- full body visibility
Mini-Guide: AI Baby Dance (Viral, Cute, and Surprisingly Simple)
If you’re making adorable short clips, you’ll probably end up experimenting with baby dance content. The most successful “baby dance” outputs usually share one trait: simple motion.
For a cute baby dance, pick a motion reference that’s:
- a gentle bounce
- small arm swings
- minimal turns
Then use a prompt that keeps things wholesome and playful.
Example:
“Cute baby character dancing happily, pastel studio background, soft warm lighting, fixed camera, smooth motion, no distortion, no blur”
If you’re targeting that specific angle, here’s your anchor keyword once, cleanly placed: kling 2.6 baby dance motion control tutorial.
Troubleshooting: Fix the 6 Most Common Problems Fast
1) Face Melting or Identity Drift
Fix:
- use a higher-quality photo
- reduce motion complexity (choose a simpler reference clip)
- prompt “fixed camera” and “high detail”
2) Warped Hands or Weird Fingers
Fix:
- pick a slower motion reference
- avoid hands crossing in front of the face
- try a stylized prompt (anime/cartoon hides errors better than realism)
3) Background Warping
Fix:
- prompt “static background”
- choose a motion reference with a clean, non-moving background
4) Camera Drift / Random Zoom
Fix: Add strong camera rules:
- “tripod shot”
- “fixed camera”
- “no zoom”
- “no pan”
- “no shake”
5) Motion Too Weak
Fix:
- choose a clearer motion reference with bigger gestures
- ensure the subject is centered and visible
6) Motion Too Chaotic
Fix:
- shorten the reference clip
- use a calmer dance loop
- simplify your prompt (too many style adjectives can introduce instability)
Best Practices Checklist (If You Want Consistent Results)
If you only remember one section, remember this:
- Match framing: portrait ↔ portrait, full-body ↔ full-body
- Use a single-person motion reference
- Start with short clips (5–8 seconds)
- Keep prompts “director style,” not story style
- Lock camera behavior every time
- Iterate one variable at a time
This is the fastest way to master how to animate a photo with kling without wasting attempts.
FAQ
Can I animate any photo?
Yes, but clean photos work best. Blurry images, heavy shadows, or tiny faces increase artifacts in kling 2.6 photo animation.
What motion reference is easiest?
A calm talking-head clip or a simple dance bounce. They’re the most forgiving for beginners.
Why does the background move?
Because the model is trying to keep motion consistent. Use “static background” and pick a motion reference with a clean background.
How do I keep the camera stable?
Always include “tripod shot, fixed camera, no zoom, no shake” in your prompt.
Conclusion: Your 10-Minute Practice Plan
If you want to get good quickly with kling motion control for photo animation, do three small tests:
- Portrait talking-head animation (easy win)
- Full-body simple dance loop (viral-ready)
- Stylized anime version (hides realism artifacts)
Once you’ve nailed those, you’ll have the confidence to animate almost any photo—cleanly, consistently, and with way fewer “why is it melting?” moments.